*Please note that all digital converter boxes are different. Please refer to the instructions that came with your device to connect.
This information below describes the installation of a standard digital-to-analog converter box with your current antenna and analog TV. This guide will help you prepare so that when you purchase a converter box you will know what to expect and whether you may need help setting it up.
You will need your analog TV, the antenna you have been using (indoor or outdoor), and the coaxial wire that currently connects your antenna to your TV. Your new converter box will come with a coaxial wire and a remote control. Before you begin the installation of the converter box, you should unplug your TV.
Step | 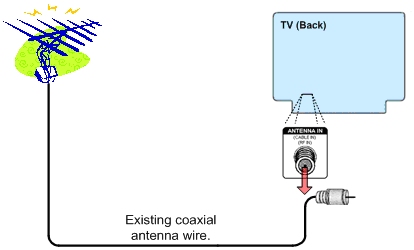 |
Step |  |
Step |  |
Step *Information taken from www.fcc.gov site | |